

The complete guide
Rock Painting With Kids: How To Choose A Kit And Get A Good Result
The problem with most craft boxes
Plenty of craft kits look great on a shelf and fall apart in practice. The paint is thin, the brush sheds, and ten minutes in, the child has made one flat picture and wandered off. The bigger problem is that so much kids' craft ends up as paper. Paper gets stacked on the fridge, then quietly recycled a month later. Nobody keeps it.
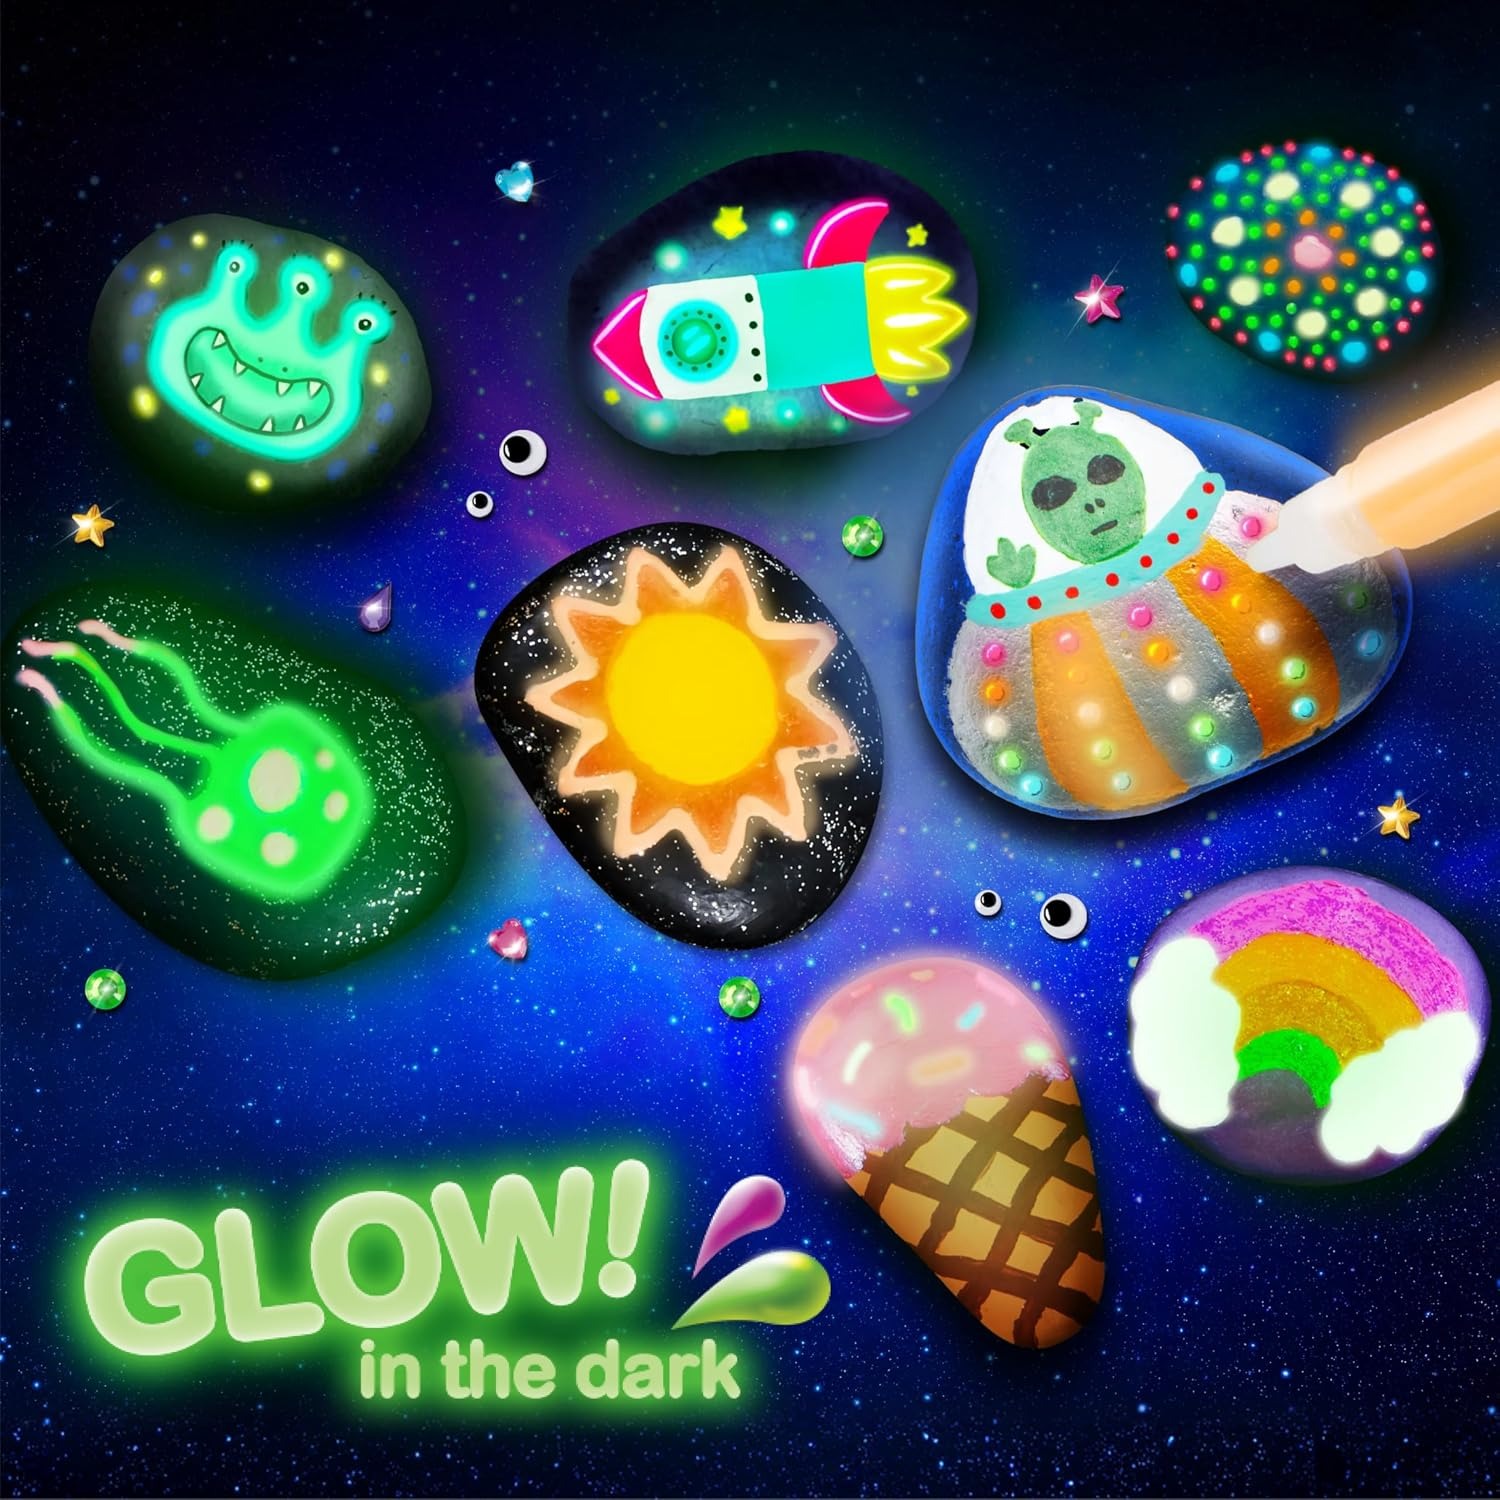
Stones are different. They have weight and a bit of bumpy character, and a painted one lives on a shelf, in a pot plant or on a bedside table for years. That is part of why rock painting has stuck around while other craft fads came and went. A glow rock painting kit takes that idea and adds one more hook: after the paint dries and the lights go off, the stone keeps working.
How the glow actually works
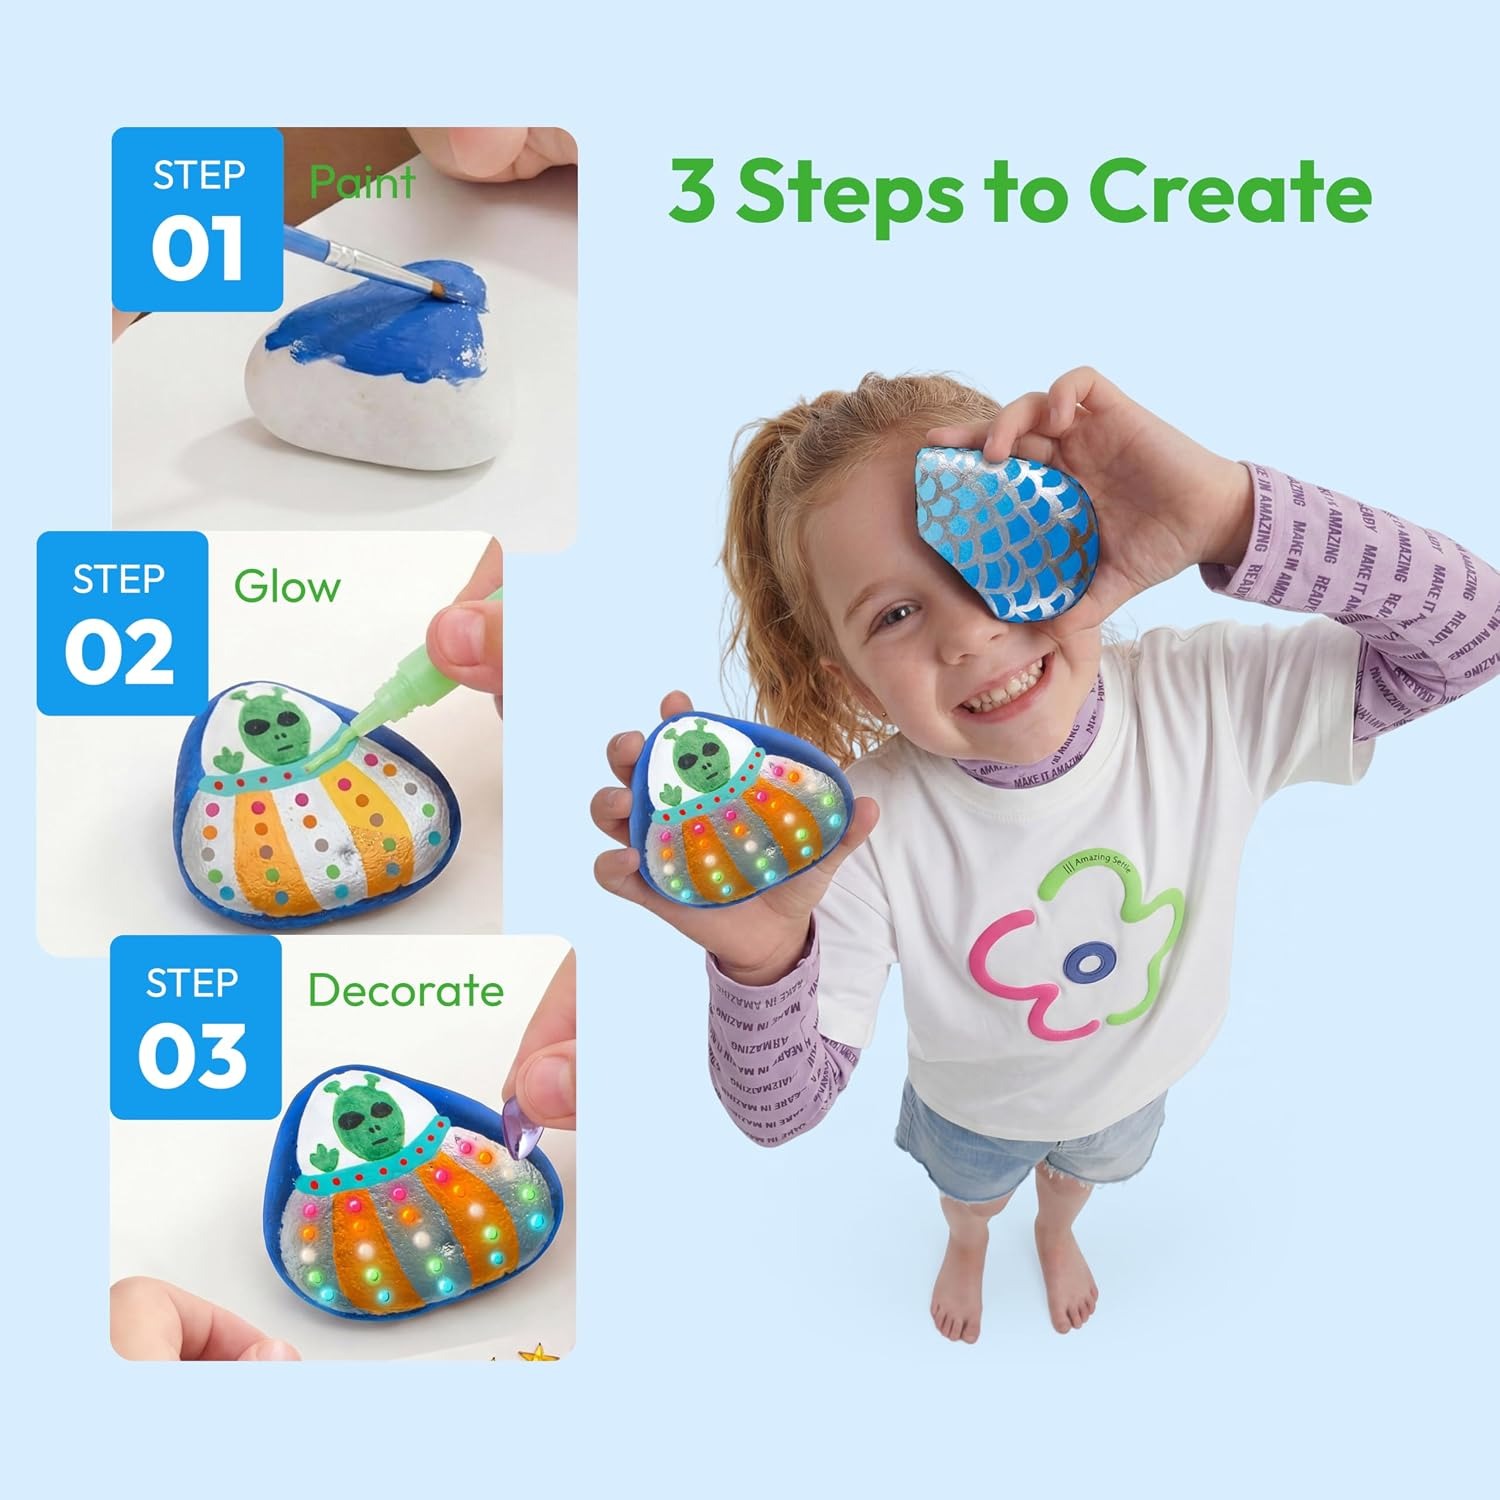
The phosphorescent paints in this set are not powered by anything. They work by soaking up light and then releasing it slowly. That means the sequence matters. Paint the stone, let it dry properly, then hold it close to a bright lamp or sit it in a sunny window for a while. Take it into a dark room and the glow shows up.
Two things trip people up. The first is charging time. A quick wave under a ceiling light is not enough. Hold the stone close to a strong light source and give it a proper soak, because the longer it charges, the brighter it starts and the longer it holds. The second is layering. Glow paint has to be the top coat. Paint anything over it, even a thin wash, and you have blocked the light it needs. Build the design first, then add the glow details last.
A light base coat under the glow paint helps too. Glow pigment sitting on white or pale yellow reflects more light than glow pigment sitting on dark brown. It is a small trick that makes a noticeable difference.
What comes in the box
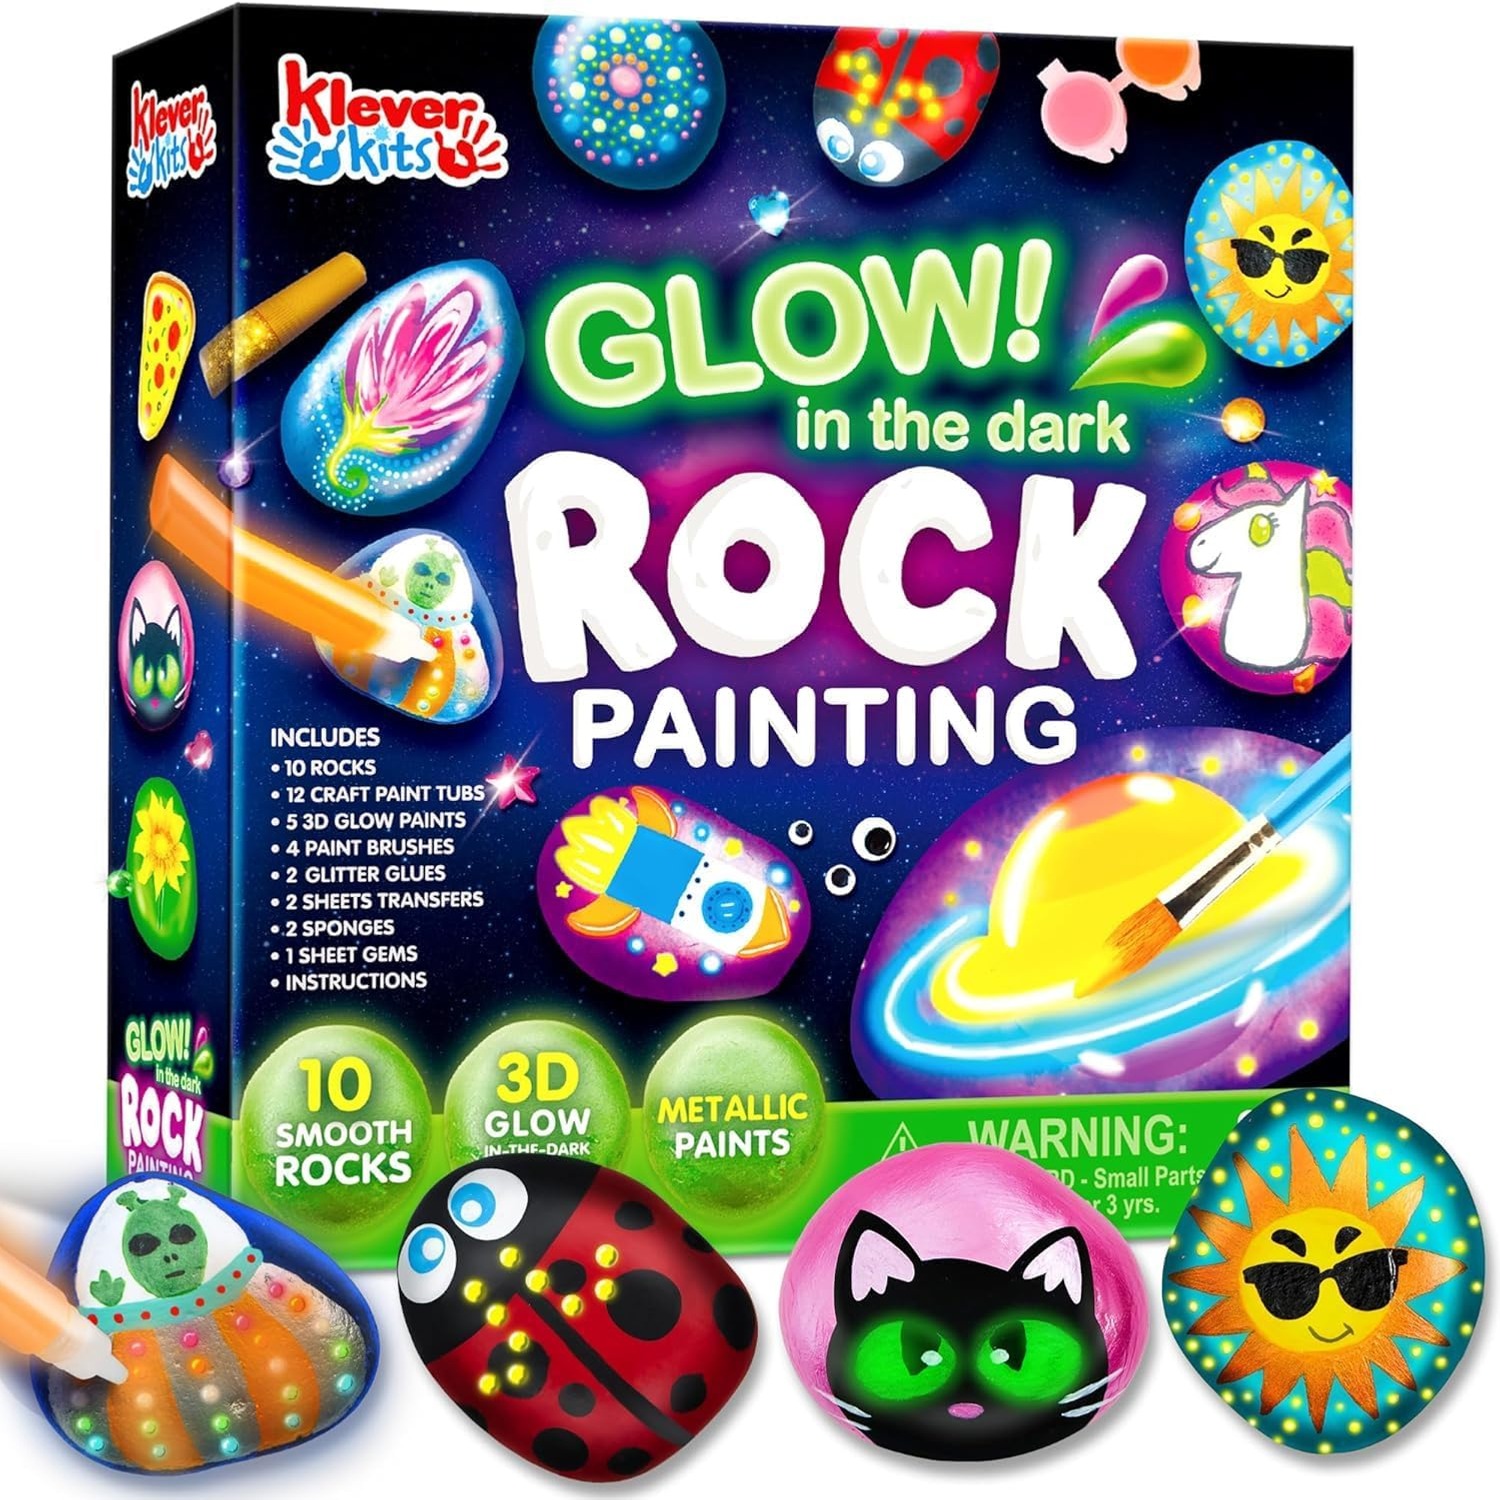
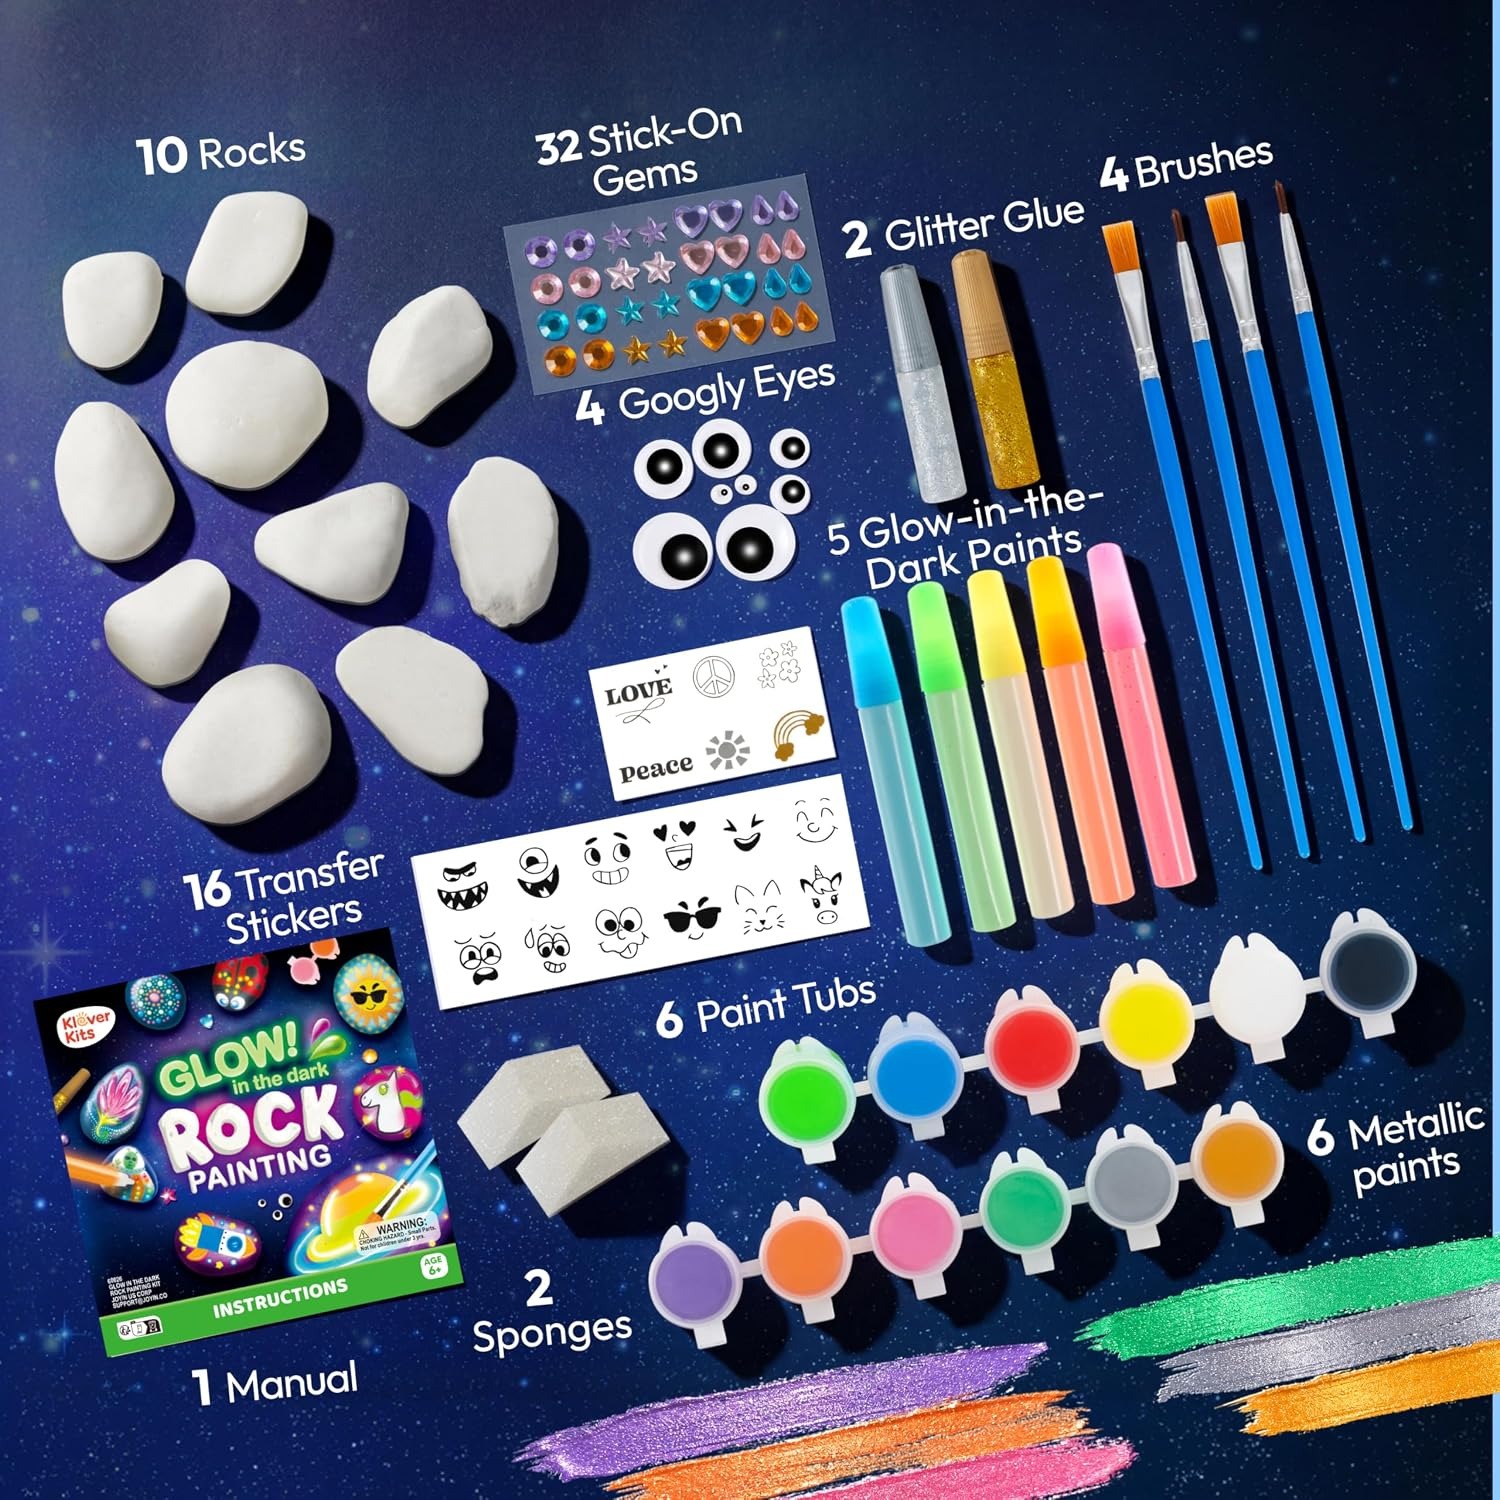
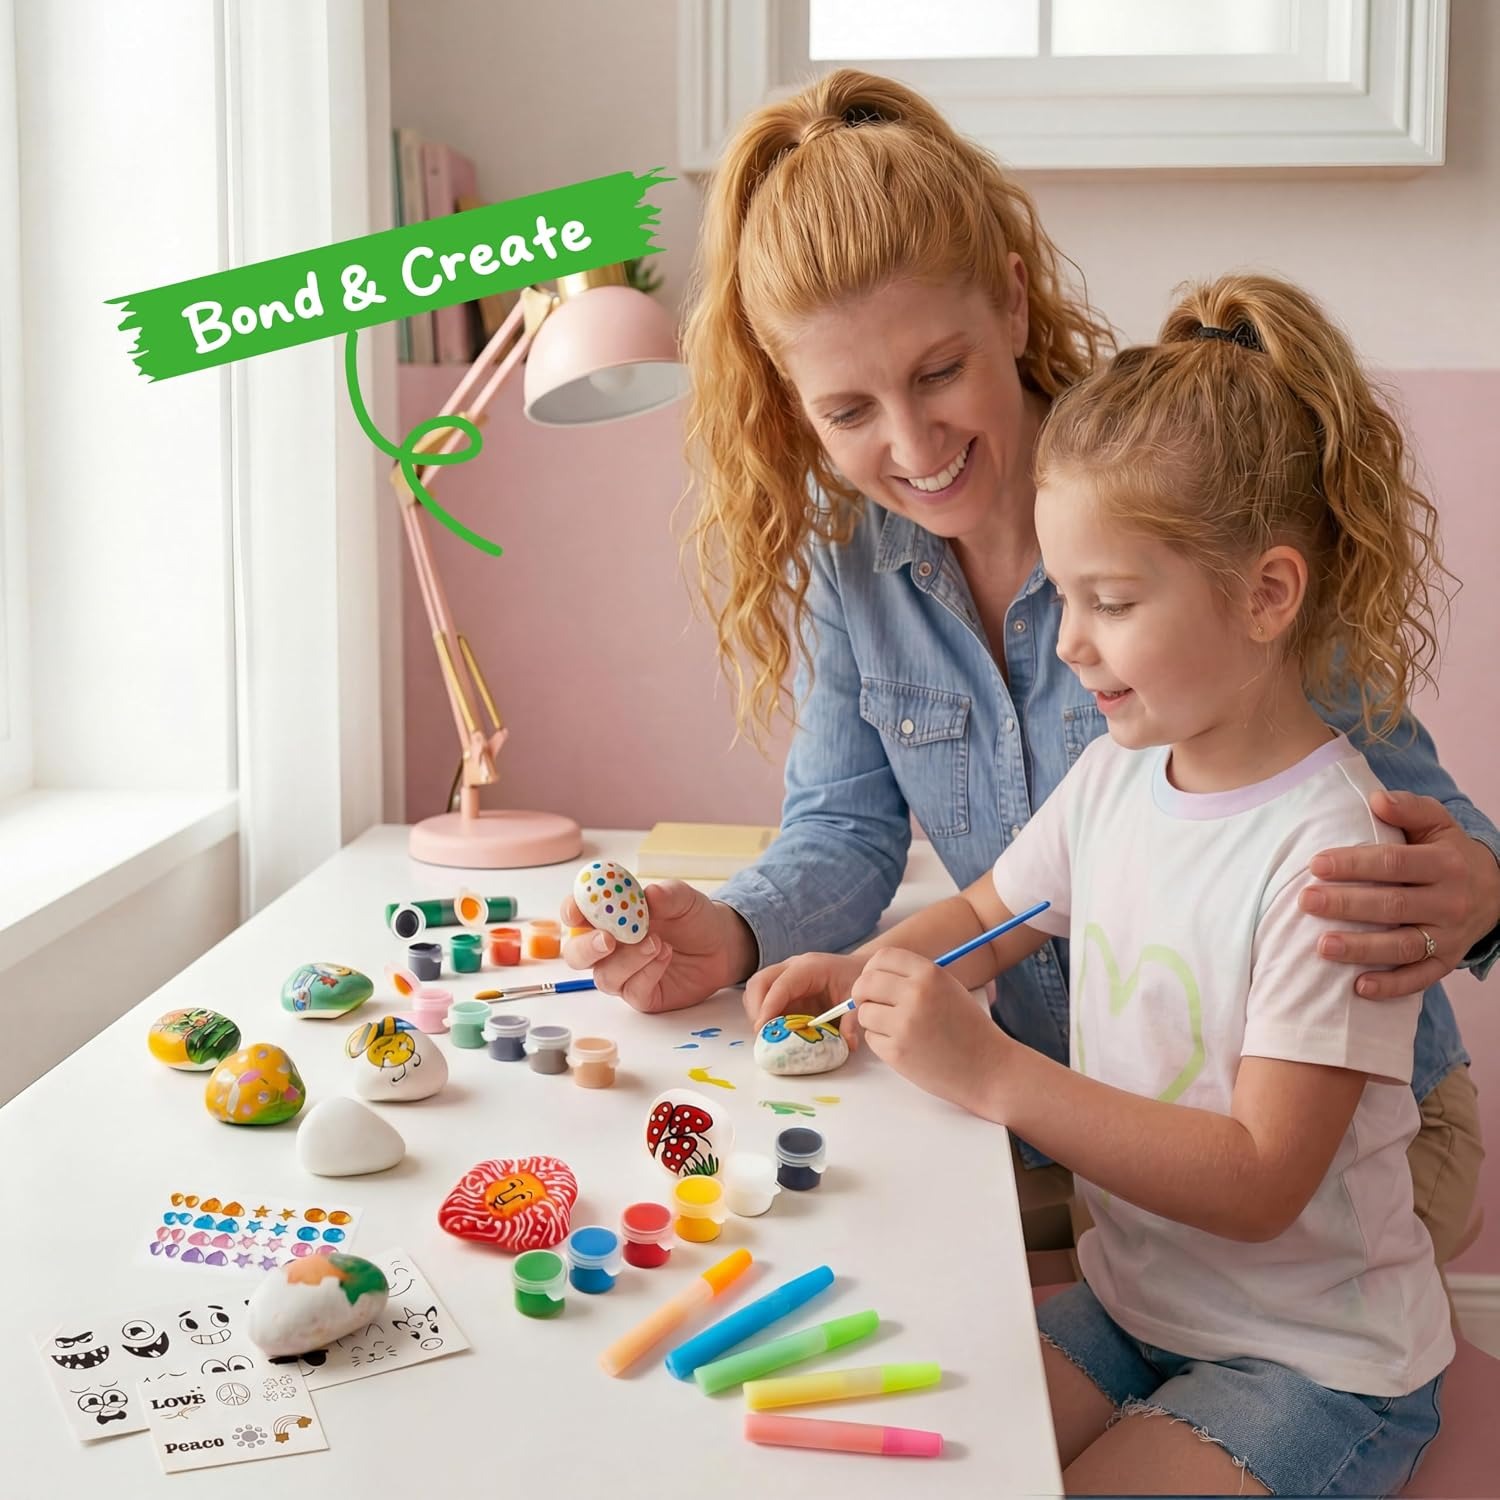
This is a 44 piece set. The core of it is 12 stones, already smooth and ready to work on, which removes the step most people dread. There are 6 standard paints for the base colours, metallic paints for shine, and 5 phosphorescent paints for the dark-room effect.
Then come the extras that make a stone look finished. Four tubes of glitter glue handle outlines, sparkle and texture. There are 32 gemstones that press on as eyes, scales or flower centres, and 50 stickers for the children who would rather place a design than draw one. Brushes come in more than one width, and two sponges cover dabbing and soft blends. An instruction booklet is included to suggest starting points, though the French edition is not guaranteed.
That mix is the real value. A box of paint alone asks a lot of a child's drawing ability. Gems and stickers give a less confident kid a route to something they are proud of.
Who it suits
The age range in the maker's details is listed only as kid, with no specific minimum given. In practice, the deciding factors are whether a child can hold a brush with some control and whether they can handle small gemstones safely. If both are true, they will manage. Younger children do well with sponges and stickers while an adult handles the fine lines.
It also works for mixed groups. One child will carefully outline a ladybird; another will slap on metallic blue, press in eight gems and declare it finished. Both get a result they want to keep, which is more than you can say for most structured craft projects.
As a kids art kit for gifting, it has one practical advantage. It is complete. No trip to a craft shop first, no "we need glue" the morning after a birthday. Water, paper towel and a covered table is the whole shopping list.
Setting up so it does not become a mess
Cover the table. Craft paints are not described as washable in the maker's details, so assume they are permanent on clothes and carpet. Old shirts, a plastic mat or newspaper, and a tray with a raised edge to stop stones rolling onto the floor.
Pour water into a sturdy, low jar rather than a tall glass. Tall glasses get knocked over by elbows every time. Keep a damp cloth within reach and a dry one for drips.
Set expectations on drying. Children want to add the next colour immediately and that is how designs turn to mud. Doing two or three stones at once helps, since by the time the third is painted the first is ready for its next layer. It gives them something to do during the wait.
Getting a better finish
Thin coats beat thick ones. Thick paint takes forever to dry, cracks as it shrinks, and dulls the metallic shimmer. Two thin coats always look better than one heavy one.
Use the right brush for the job. The wide brush is for backgrounds and covering a whole stone. The fine tip is for whiskers, stems, lettering and outlines. Swapping between them is the single biggest step up in how finished a stone looks.
Outlining helps enormously. A black or dark outline drawn around a shape after the fill colour has dried pulls a wobbly design together and makes it read clearly from a distance. Glitter glue does a similar job with more sparkle.
Let gems set properly. Press them into wet glitter glue or a thick dab of paint and leave the stone flat and untouched until it is fully dry. Lifting it too soon is how gems end up on the carpet.
Care and keeping them
Rinse brushes in clean water the moment painting stops. Paint that dries in the bristles ruins a fine tip permanently, and the fine tip is the brush you will miss. Reshape it with your fingers and dry it flat.
Seal the paint pots and cap the glitter glue firmly. Properly closed, the paints keep well between sessions and the kit stretches across several weekends rather than one.
If the stones are staying indoors, no sealing is needed. If you plan to hide them in a garden, along a path or in a park, brush on your own clear outdoor sealant once the paint has fully cured. Without it, rain and sun will lift the colour over a few weeks.
Store the box flat, out of direct sunlight and away from heaters. The packed size is around 17.81 by 16.81 by 5.11 cm, so a shelf or a drawer takes it easily.
Ideas that work better than freestyle
Children sometimes freeze when handed a blank stone. Giving them a theme helps. Ladybirds and bees are forgiving because the shapes are simple and the outline does the work. Night sky stones are a natural fit for glow paint, with a dark blue base and glowing stars dotted on top. Faces work well on the rounder stones, with gems for eyes.
Lettering is popular with older children. One word per stone, painted in metallic over a plain base, makes a set that can line a windowsill. Kindness stones left on a walking trail are the classic version of this, and they are a good reason to seal them properly first.
The short version
This kit gives you 12 stones and enough paint, glue, gems and stickers to turn them into something worth keeping. The glow paints are the standout feature, as long as you remember to charge them under a light and keep them as the final layer.
It suits children who can manage a brush, it works for mixed ages because the gems and stickers lower the skill floor, and it arrives complete so it can be given as a gift without any extra shopping. Cover the table, use thin coats, rinse the brushes, and it will keep a household busy well past the first afternoon.