
The complete guide
Choosing a First Sewing Kit for Kids, Without the Tears
The usual problem with teaching a child to sew
Most first sewing attempts go the same way. Someone finds a needle, a scrap of fabric and a reel of thread, and hands it all to a seven-year-old with a vague instruction to go in and out. Within ten minutes the thread has knotted, the fabric has shifted, the needle has been dropped twice and the child has decided sewing is boring.
None of that is the child's fault. Ordinary sewing asks you to do four hard things at once. You hold slippery fabric steady, judge where the next stitch should land, control tension so the thread does not pucker, and manage a sharp point near your fingers. Adults do this on autopilot. For a beginner, every one of those is a separate struggle.
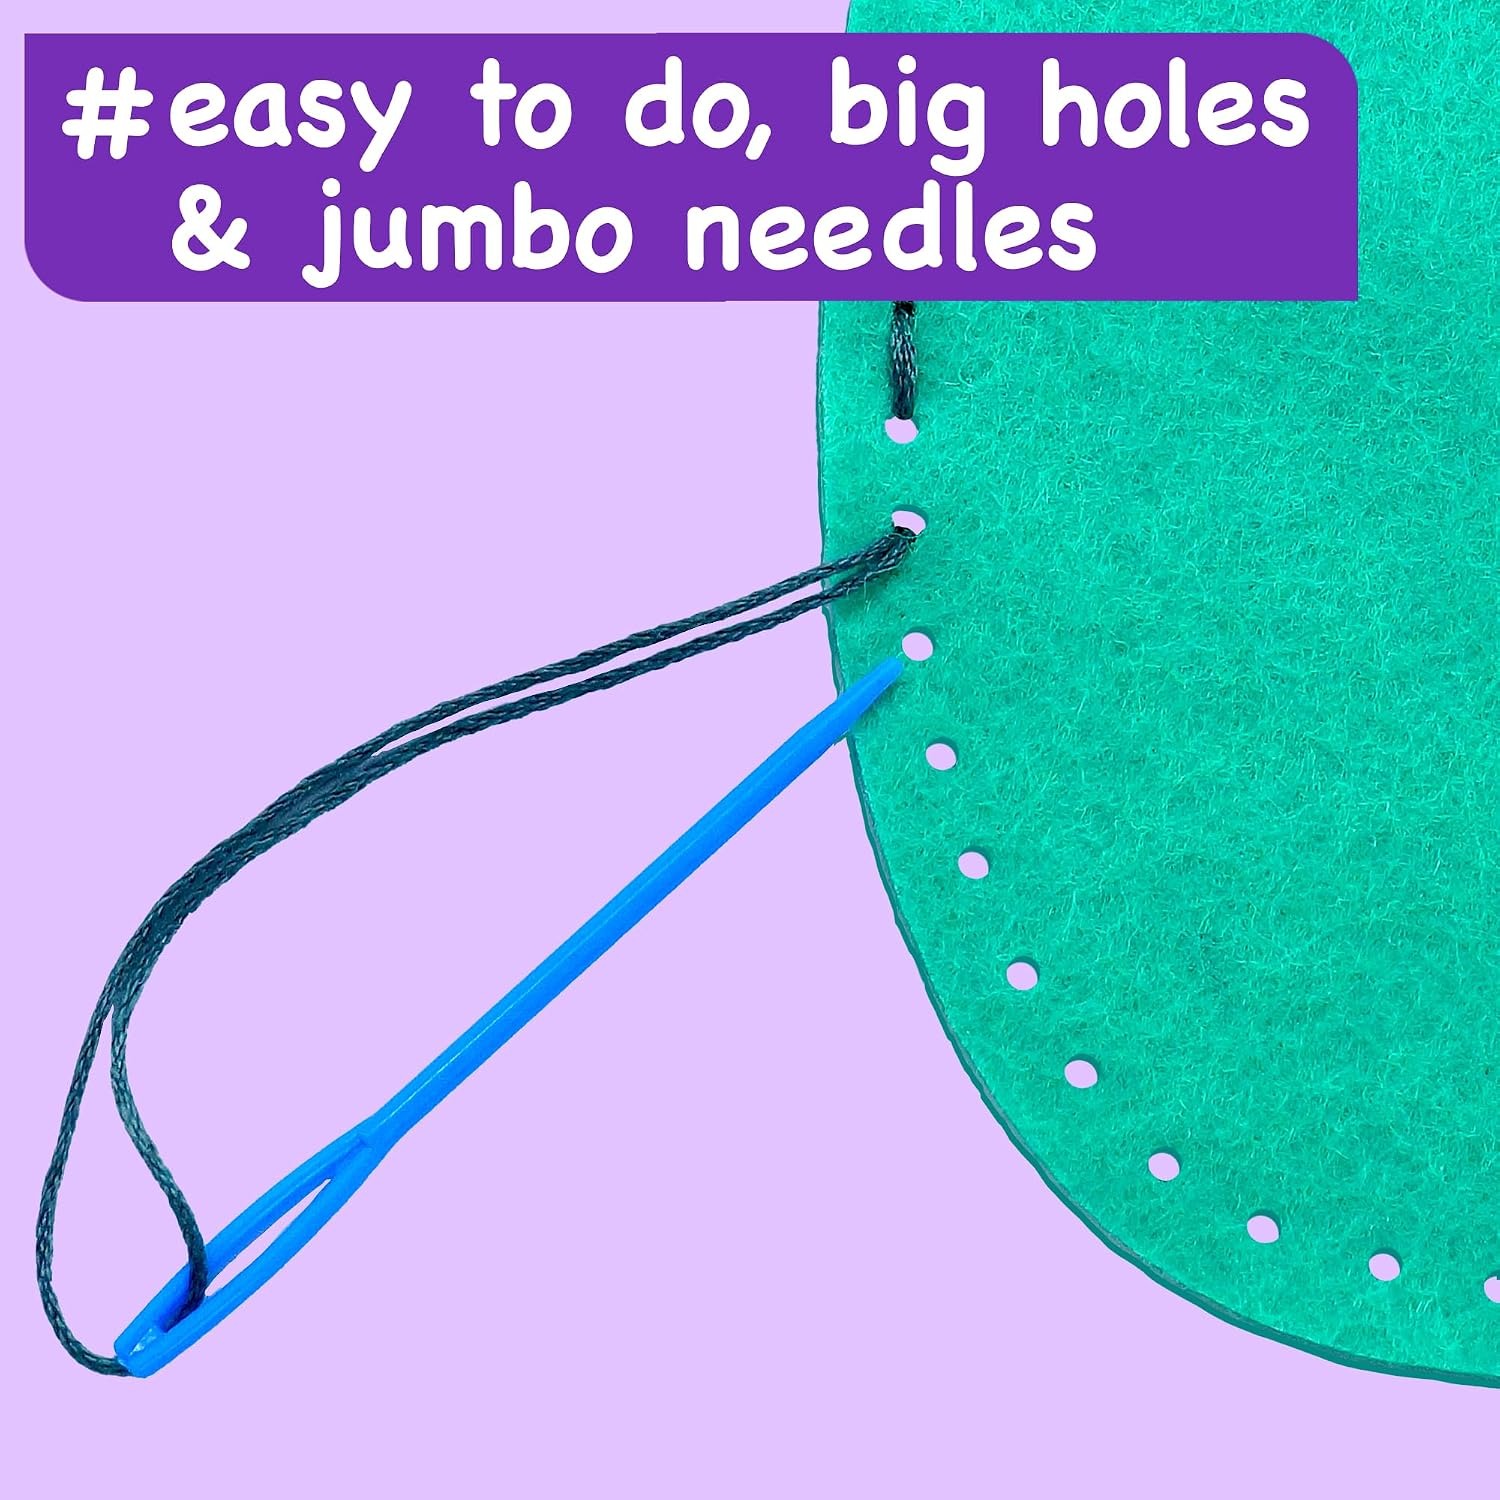
A proper beginner sewing craft kit takes three of those four problems away and leaves only the stitch itself. That is the whole design idea here. The felt is stiff enough to hold its shape instead of sliding, the holes are already punched so there is no judging distances, and the needle is blunt plastic so nobody is nervous. What remains is the simple, satisfying motion of up, through, down, pull.
How a pre-punched felt kit actually works
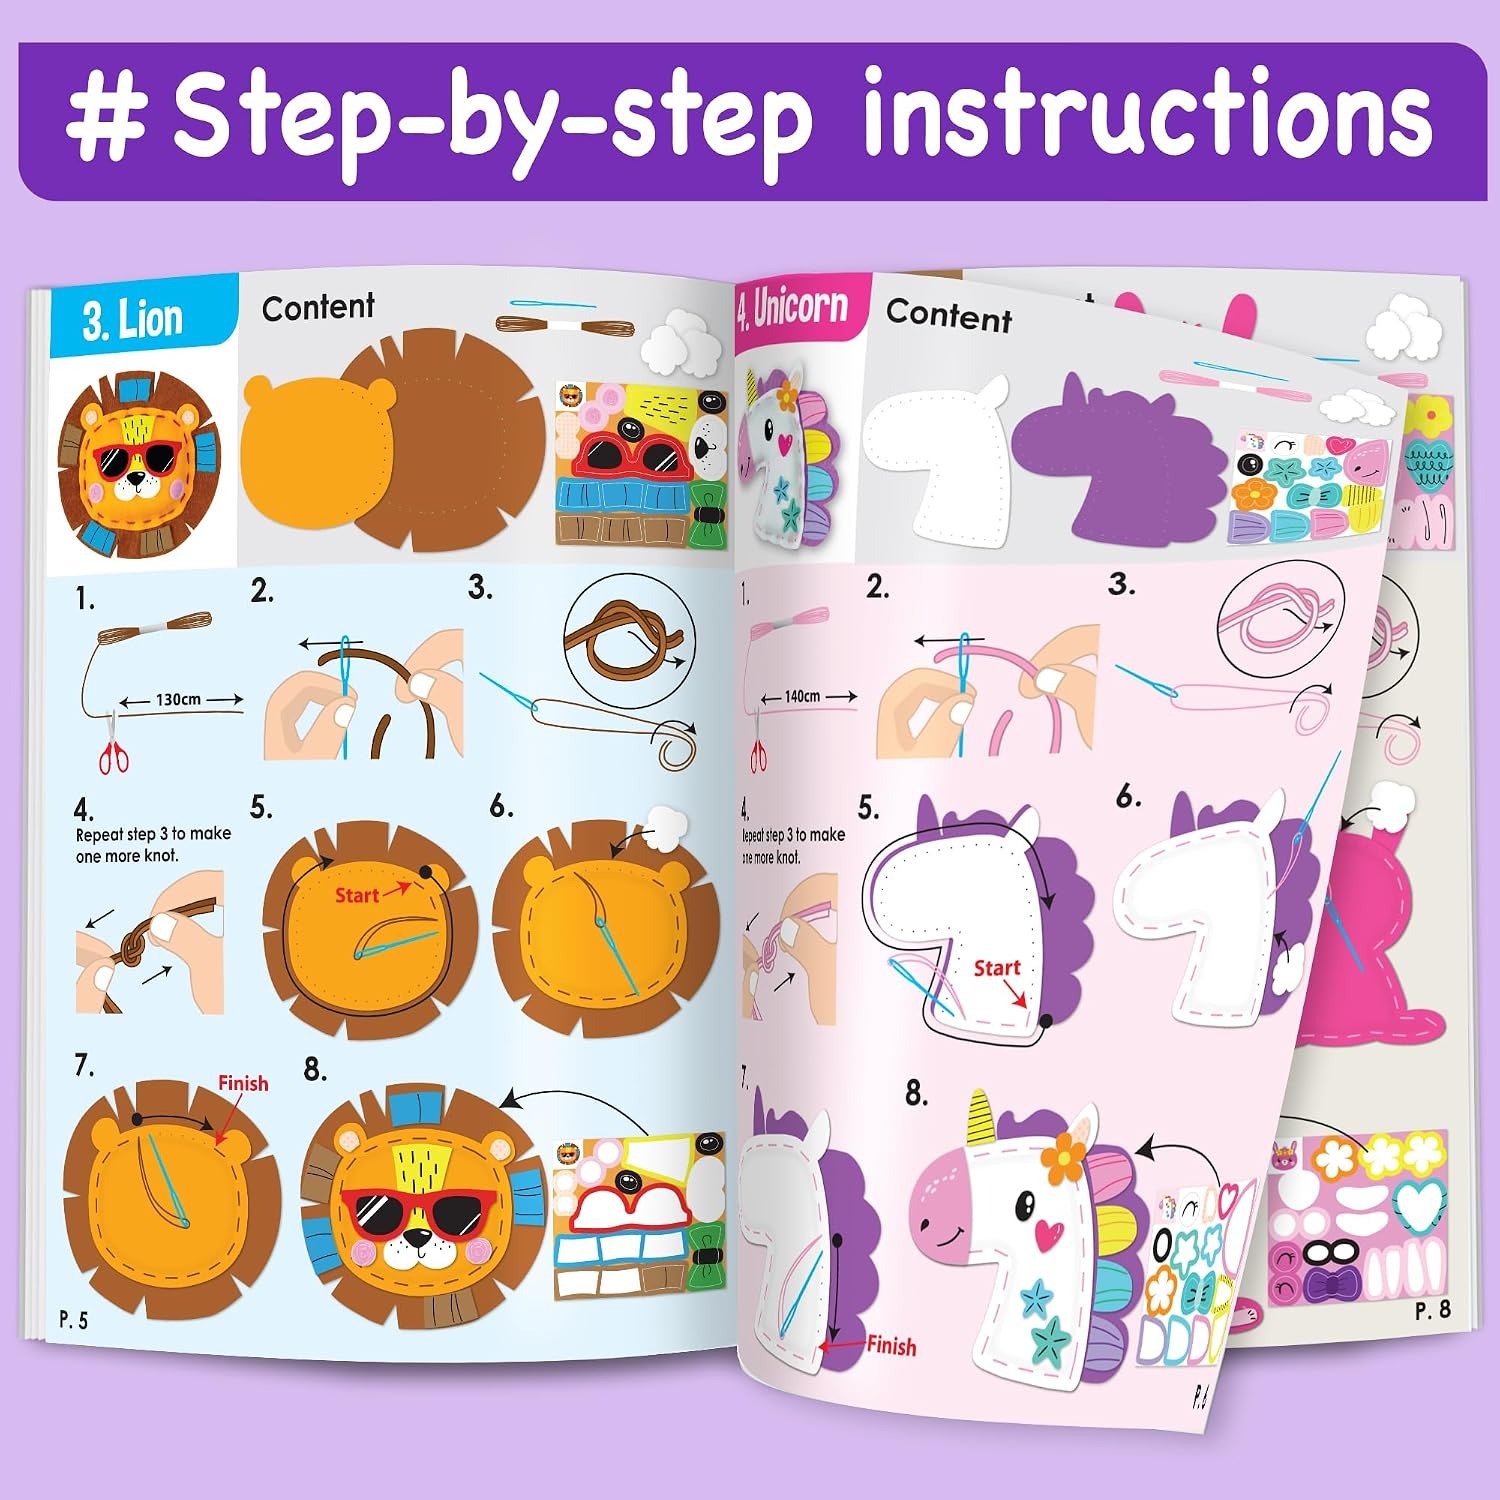
Each project in this kit is a felt animal shape with a line of holes running around it. The child threads the jumbo plastic needle, pushes it up through one hole from underneath, then down through the next from the top. Repeat, and a neat running stitch appears along the line.
Because the holes are fixed, the stitches come out evenly spaced whether or not the child is being careful. That is quietly important. Early craft projects often look messy, the child notices, and the enthusiasm drains away. Here the result looks deliberate from the first attempt, which keeps them going.
Felt is a good training fabric for the same reason. It does not fray at the cut edges, it does not slip, and it holds a stitch firmly even when the thread tension is loose. You get a sturdy finished object instead of something that falls apart in a pocket.
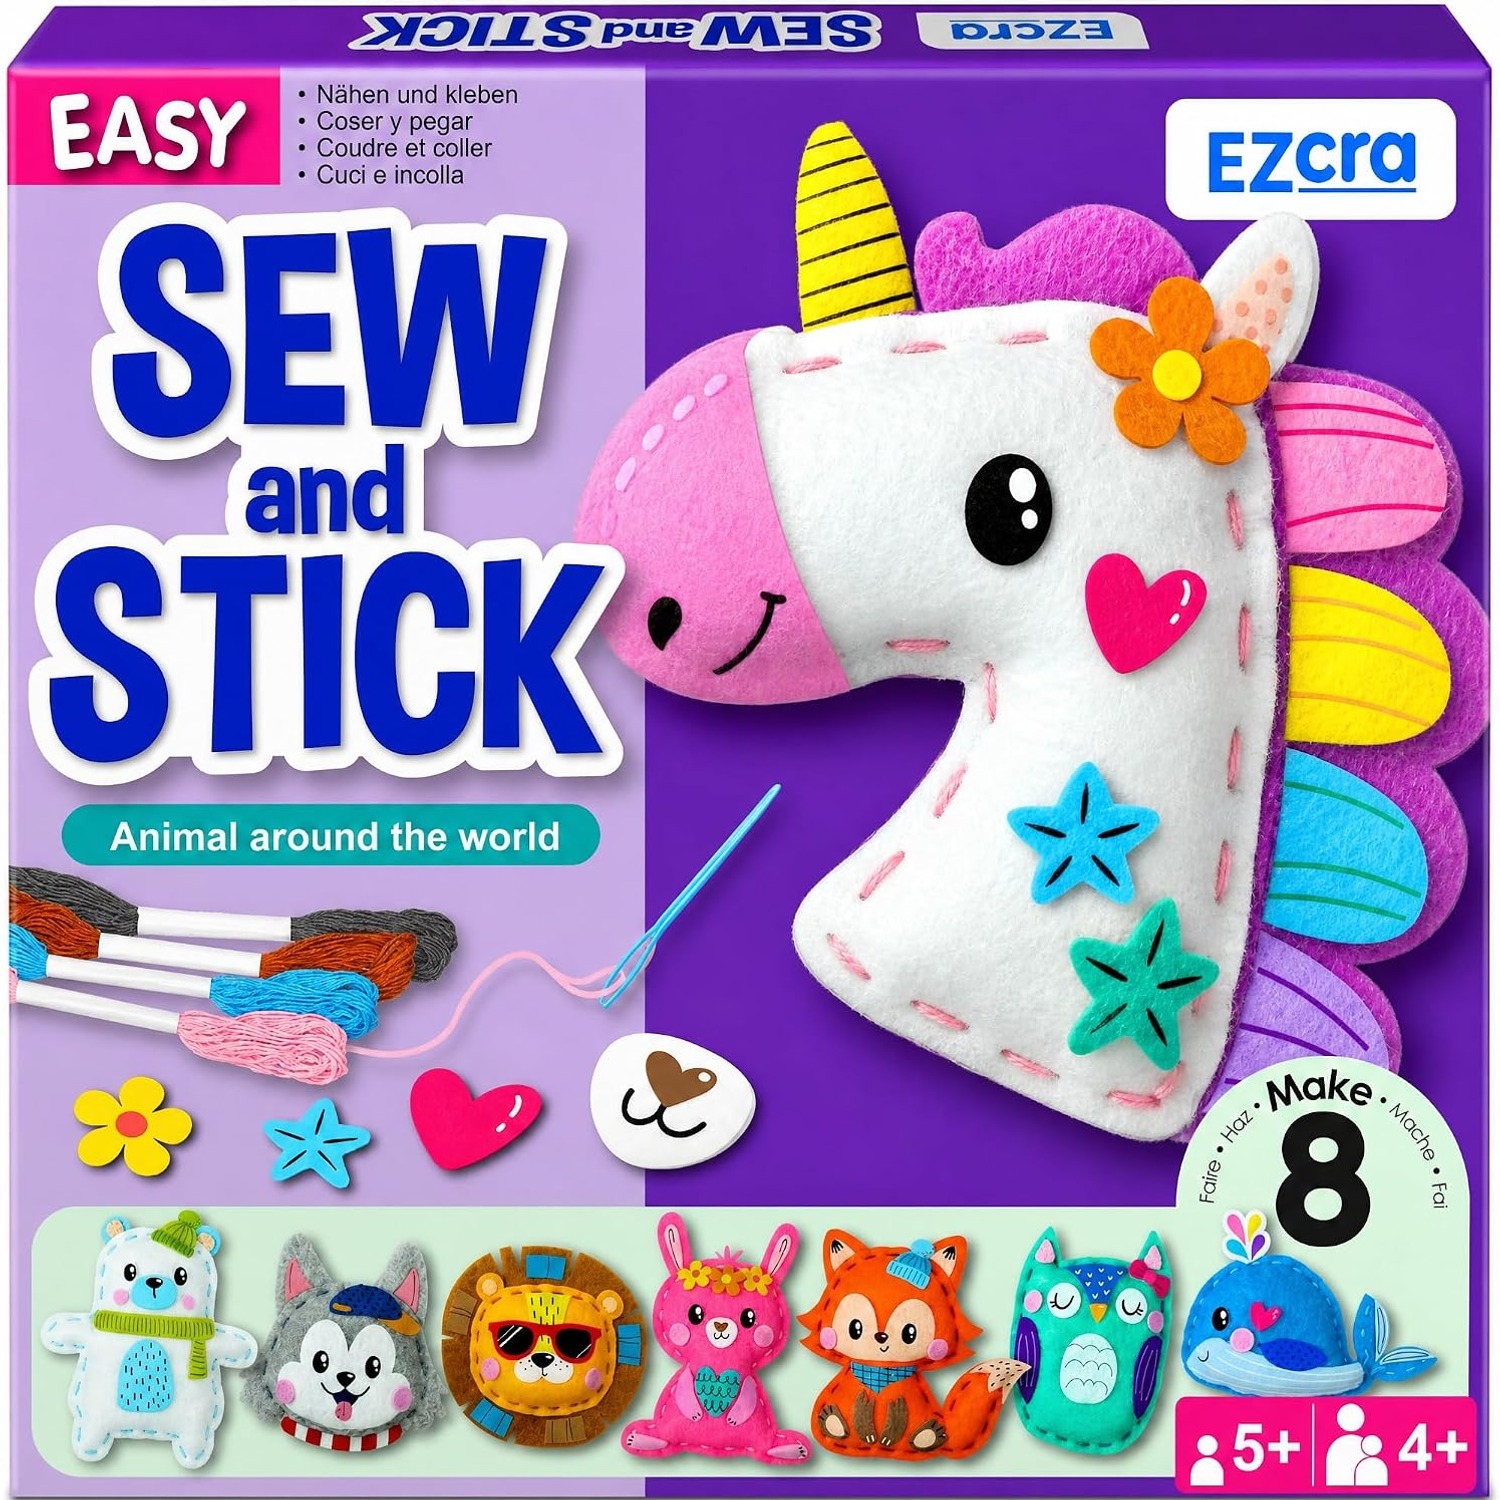
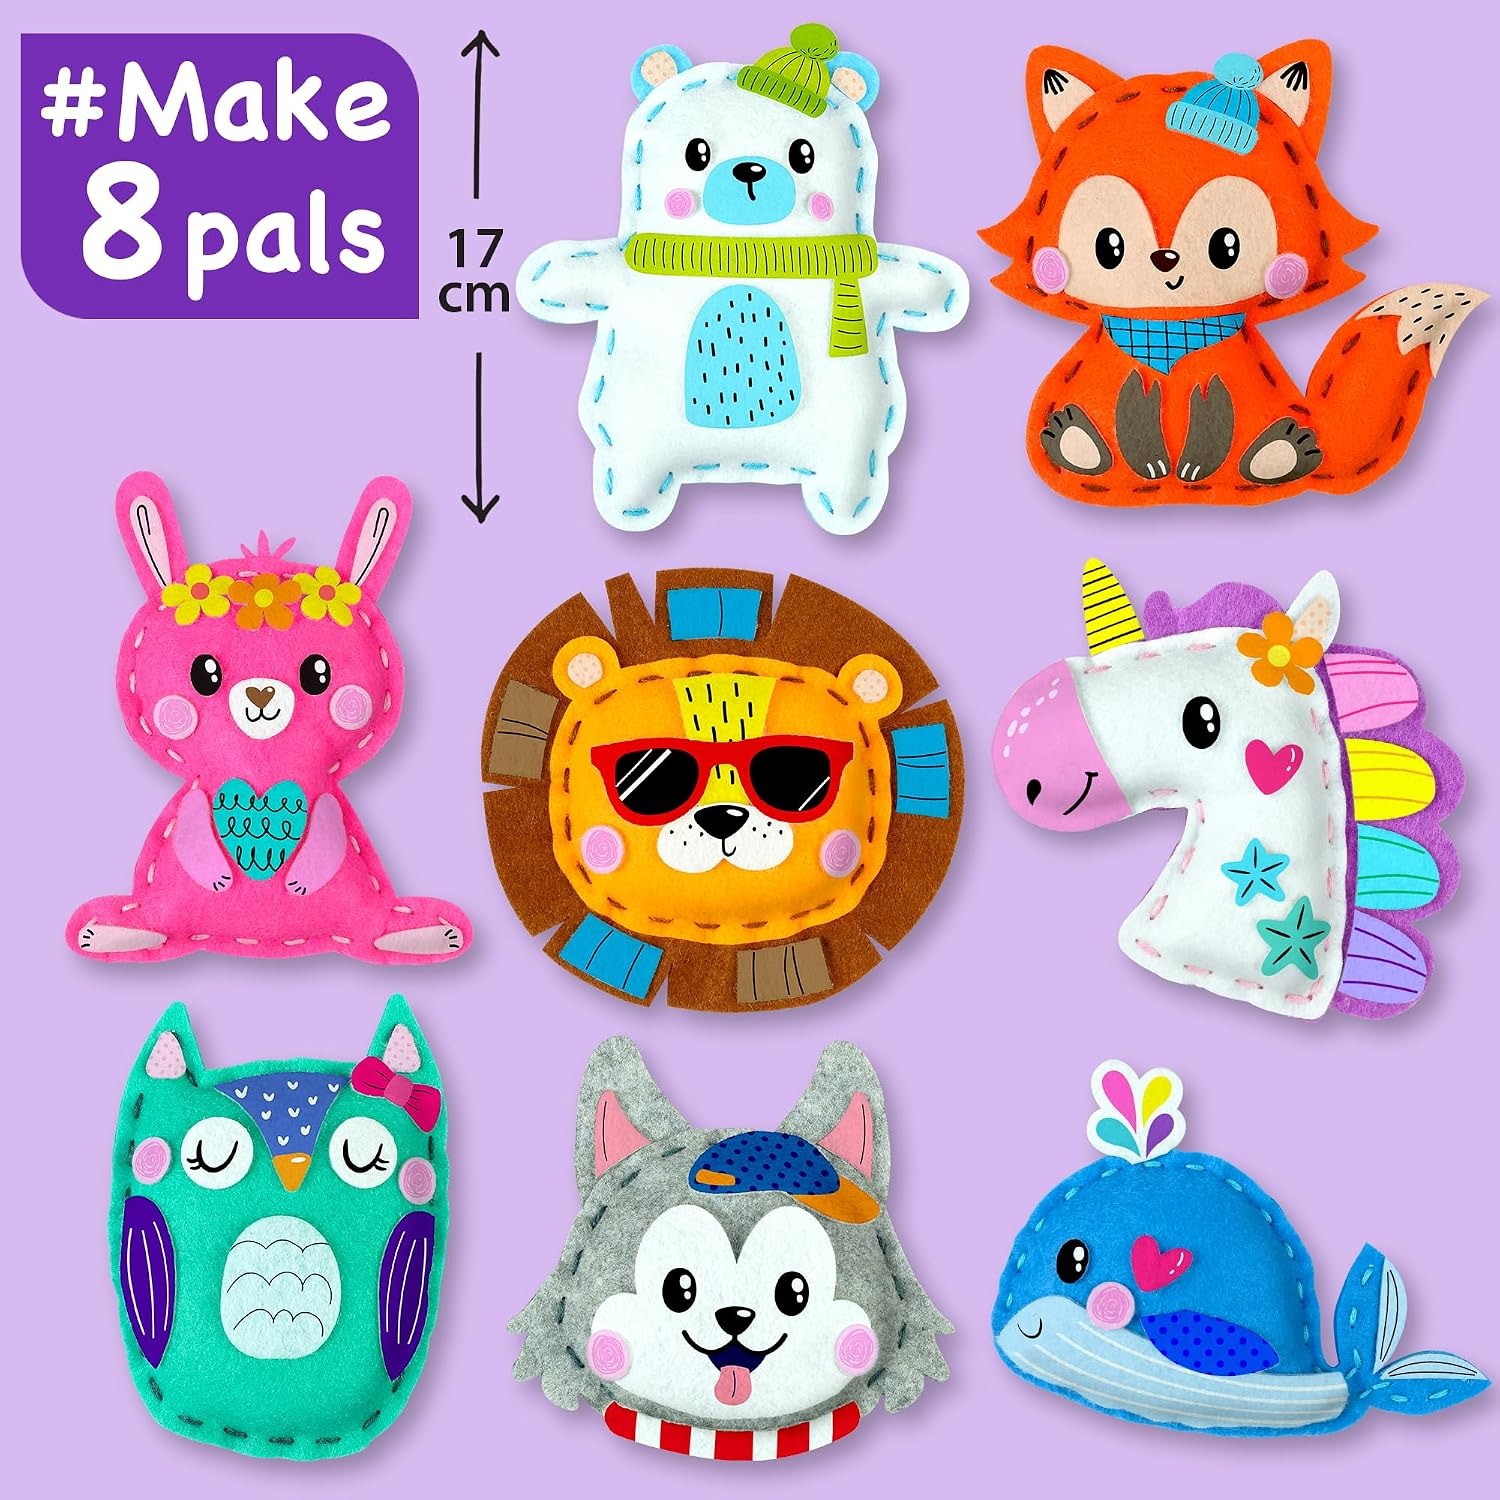
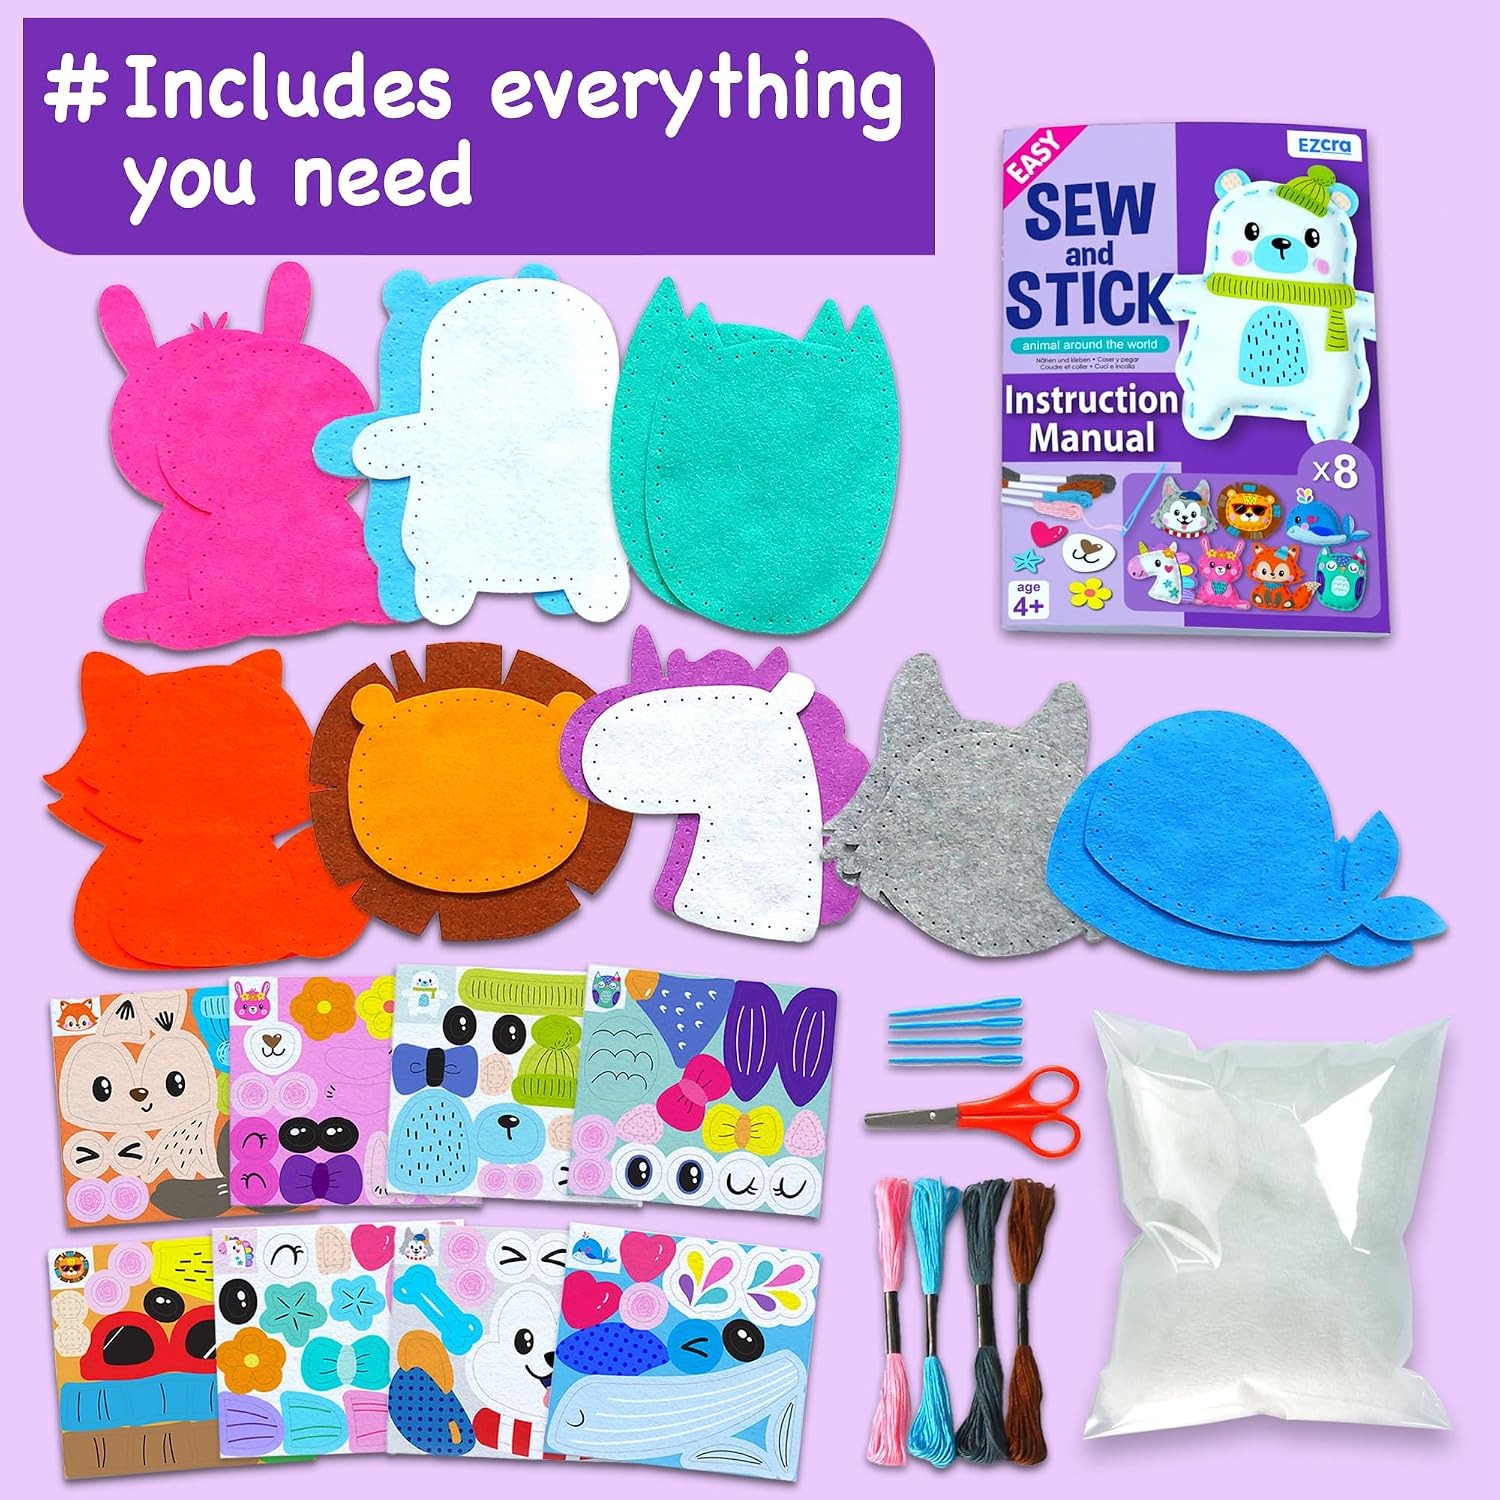
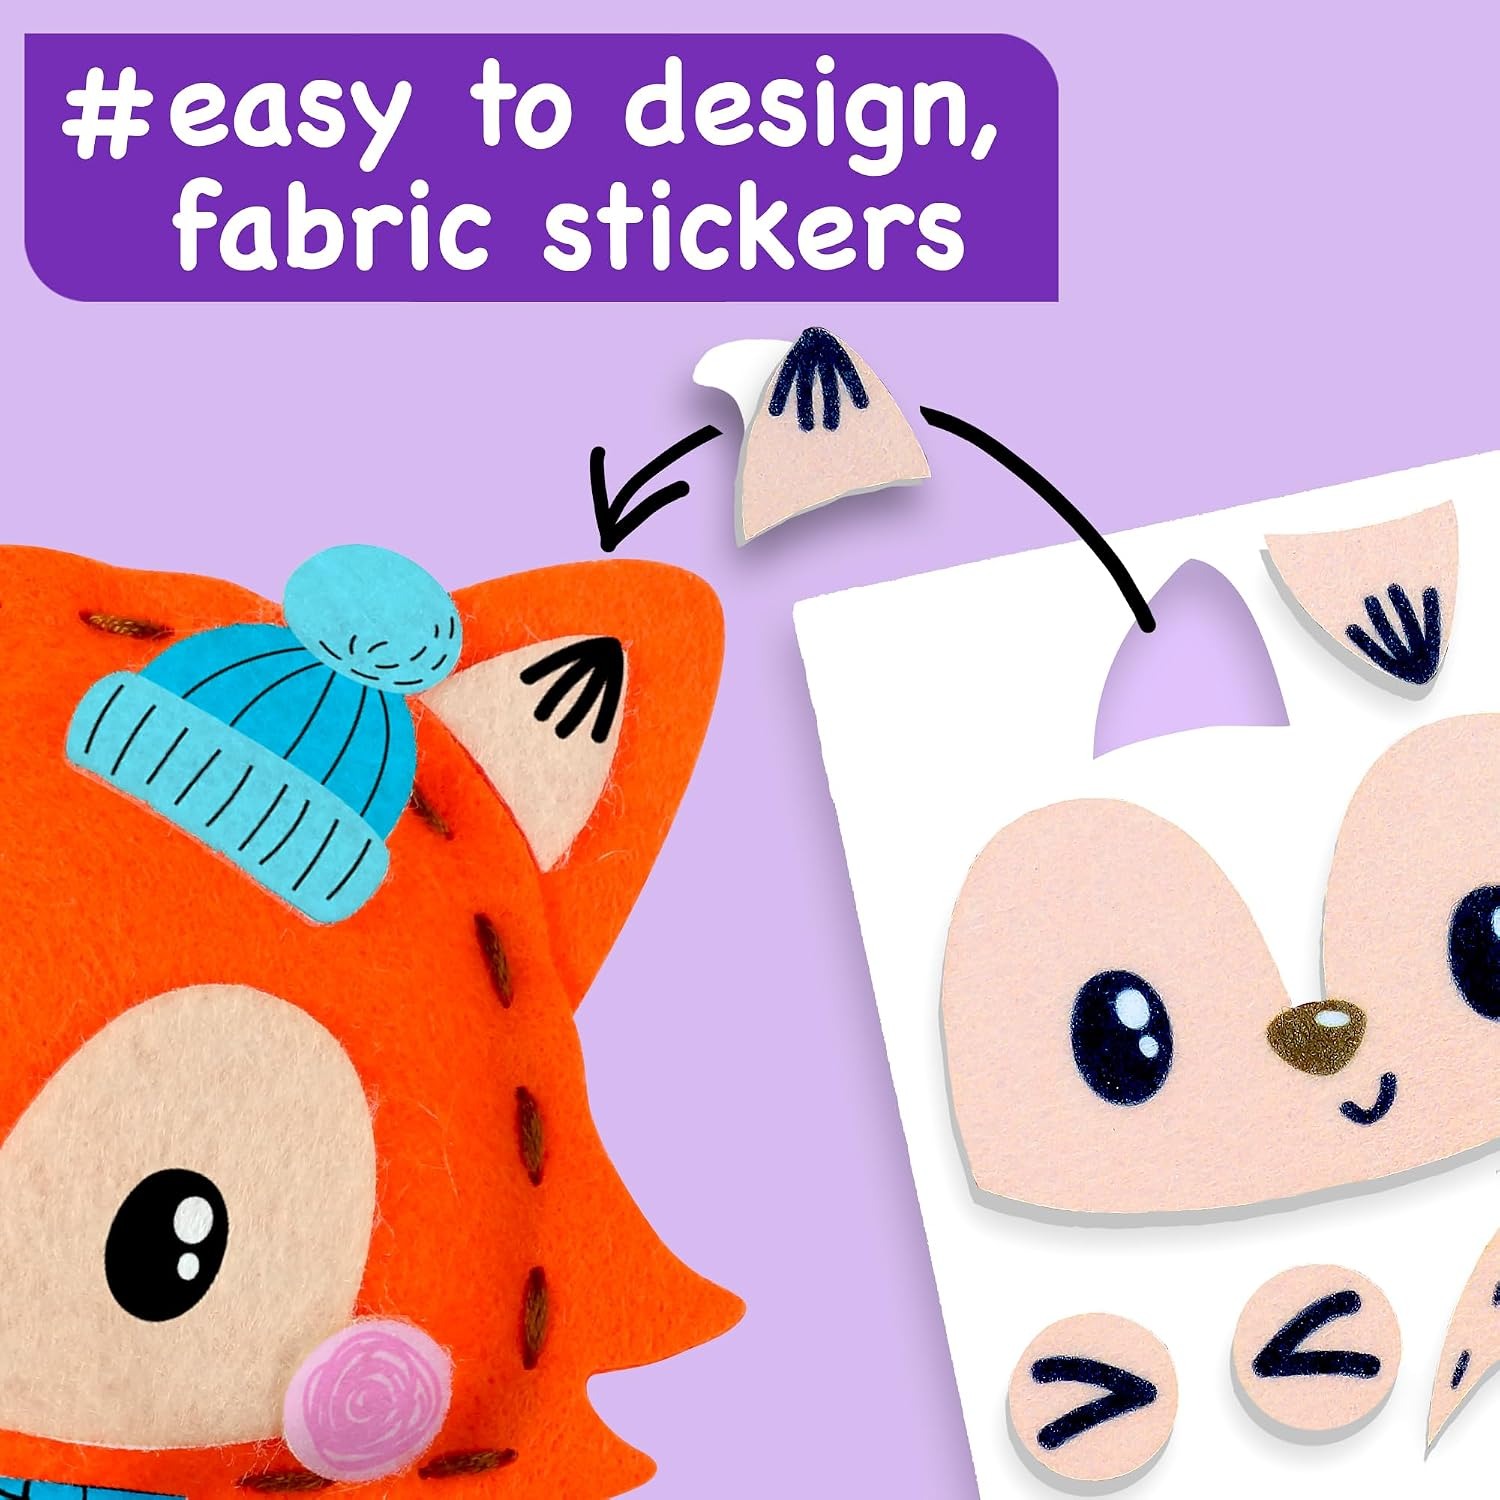
Once the stitching is done, the sticker sheets come out. There are eight sets of decorative stickers in the box, and this is the stage children usually rush to. It also matters for a reason beyond fun. Two children stitching the same shape end up with two clearly different animals, so nobody feels like they copied.
Who this kit suits
This is aimed at children just old enough to sit with a task for twenty or thirty minutes and follow a repeating action. The age range in the maker's details is given simply as kid, so use your judgement about your own child. If they can hold a pencil steadily and follow a two-step instruction, they are ready.
It also suits a particular kind of household situation. Rainy weekends. Long car journeys. The hour between homework and dinner when the screen is the path of least resistance. The best screen free craft kit is one you can hand over without a setup ritual, and this one opens and goes.
Grandparents and relatives buying presents tend to like it for a related reason. A gift that can be used immediately, in the same room, with the person who gave it, lands differently to a toy that needs batteries or an account. The best unicorn craft gift is often the one that produces something to put on a shelf afterwards.
It is less suited to a child who already sews with a real needle. They will find the pre-punched holes limiting and will want to move on to cutting their own shapes and choosing their own stitch paths. That is a fine problem to have, and it usually happens within a year of starting.
What to look for when comparing kits
A few things separate a good beginner set from a frustrating one.
Count the projects. A single-project kit is finished in half an hour and leaves a child wanting more, which is a sale for someone but not much fun for you. Eight projects means the child can be bad at it, improve, and then do a few more while actually enjoying themselves. That arc inside one box is the real value.
Check the needle. Steel needles in a children's kit are a warning sign unless the child is older and supervised closely. Jumbo plastic needles are blunter, thicker and easier to grip, and they work perfectly well through pre-punched holes. The best sewing kit for small hands always has the chunkier tool, not the delicate one.
Check whether scissors are included. It sounds minor until you are rummaging through a drawer while a child waits. Safety scissors in the box means the kit is genuinely complete.
Look at what happens after the stitching. Kits that end the moment the last stitch is tied tend to produce identical, slightly dull results. Sticker sheets, or any decorating stage, give the child a creative decision to make and make the finished piece theirs.
Finally, think about mess. No glue, no paint and no water means you can set it up on the dining table ten minutes before dinner and clear it in thirty seconds. The best rainy day craft kit is one that does not generate a second job for a parent.
Getting the first session right
Set up somewhere with decent light and a flat surface. A lap is tempting but makes the needle harder to control. A kitchen table is ideal.
Start by doing three or four stitches yourself while the child watches. Narrate it plainly, up from under, down from the top, pull until it is snug but not tight. Then hand it over. Resist the urge to take it back and fix things, because a slightly crooked stitch they did themselves is worth more than a perfect one you did.
Expect the first project to be the slowest and the roughest. That is normal and worth saying out loud to the child before they start, so a wobbly unicorn does not feel like failure. By the third animal most children have found a rhythm and stop needing help.
If the thread runs short mid-project, tie it off neatly at the back and start a fresh length. This is a useful thing to teach early, because it removes the panic that comes with running out.
Looking after the kit and the finished pieces
Between sessions, put everything back in the box. Loose needles get lost in sofa cushions and sticker sheets get bent, and both of those shorten the life of the kit more than any amount of use.
Keep the box somewhere dry and out of direct sun. Felt fades over time in bright light, and sticker adhesive gets unpredictable when it gets warm. A shelf or a drawer is fine. The box is slim, about 20.32 by 15.24 by 1.27 cm, so it does not need much room.
Finished animals are decorative rather than washable. Dust them with a dry cloth, or dab a mark with a barely damp cloth and let them dry flat. Do not put them through the wash, as soaking distorts felt and will lift the stickers.
When the scissors come out, keep an eye on them, and keep small parts away from preschoolers in the house. That is the extent of the supervision most families need.
The short version
This is a complete beginner kit, not a starter sample. Eight pre-punched felt animal projects, eight sticker sets, jumbo plastic needles and safety scissors arrive in one slim box weighing 272 grams, and nothing else is needed to begin.
It works because it removes the parts of sewing that defeat beginners and keeps the part that feels good. A child gets a straight line of neat stitches on their first try, decorates it however they like, and ends up with something real they made themselves.
If you want a quiet, tidy, screen-free activity that produces eight small keepsakes rather than a pile of scrap paper, this is a sensible place to start.